We placed a border of tape 5" from the ceiling all the way around the room.
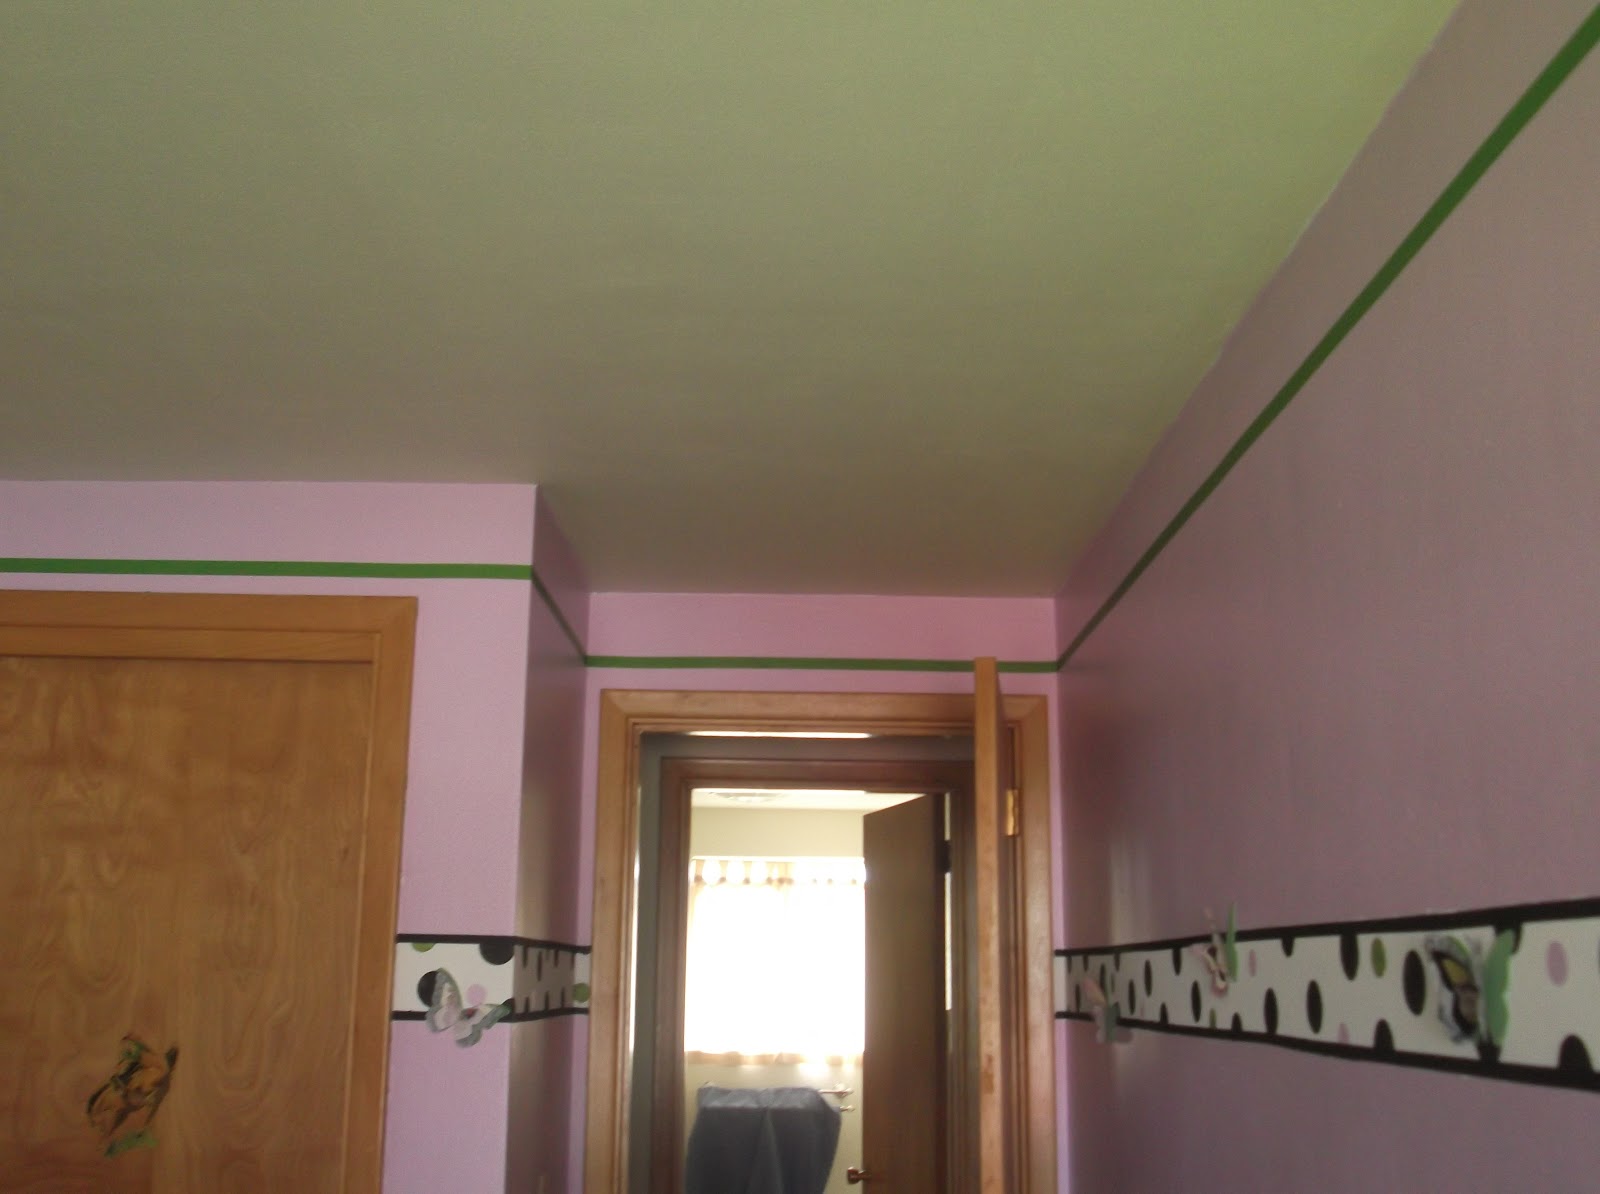


We then taped 1/2 up from the top of the tape to create a border after the polka dots dried.


The ceiling was done, as well as both wall borders. However, the light cover did not match. So we polka-dotted that too. =)


With the walls and ceiling done, it was time to move onto the details in the accessories.
I had a small wooden chair.We painted it white. LeeLee wanted to bring some of the upper decor to the bottom of the room.

Added polka dots:


Then LeeLee painted the front rungs New Violet and the side rungs Scotland Isle Green.

She then taped the edges around the brackets and painted the brackets green.

She added some of the same butterfly decals also used in the framed collages we made on Day 1.

The completed chair:


LeeLee hung the framed collages above the chair rail.

The she added decals with the words "Faith, Love, and Hope" below, above and below the frames.
THE FINAL TOUCH:
LeeLee added five of the same butterflies from the chair rail to random sections of the ceiling.

With this, the room is complete. All that is left is cleanup and bedding. The baby shower is in 3 days, so hopefully, it will be arriving. =)
Here are two panoramic photos of the whole room put together for you to get the full effect of LeeLee's wonderful creation. (Please keep in mind that these are panoramic views, and the lines are actually straight, the camera just makes them look bowed)


So here is a $50.00 baby room make over. Much love and many thanks go to LeeLee Owens
(http://www.leelee-726.blogspot.com/)
Without her none of this would have been possible.
(http://www.leelee-726.blogspot.com/)
Without her none of this would have been possible.
(At least for under $50.00 and in 19.5 hours)


No comments:
Post a Comment